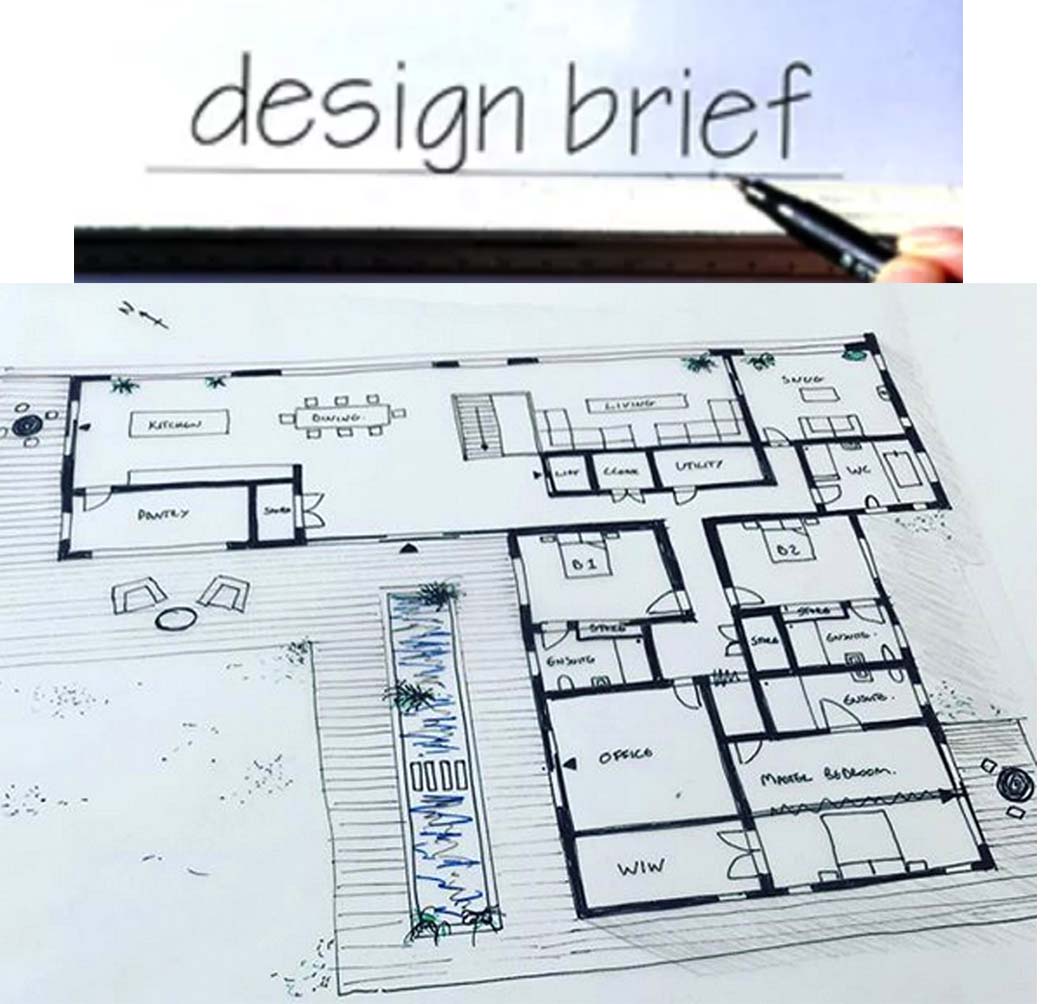
Designing your perfect home is often a monumental task. People often have dozens of ideas or have seen many references they would like to incorporate. Articulating these ideas can be overwhelming in itself. So, today we are going to take you step by step through the process of creating your brief. By following these steps, you will be able to communicate your ideas in a clear and organised fashion.
First things first, understand that there are two type of briefs. The visual and the written, also known as the aesthetic and the functional. Let’s start with the written.
The functional brief:
- Observe your current living situation. Take notes on how you live, how you move throughout the spaces. You need to understand how you use rooms, because you don’t want to design a house that doesn’t work for you.
- With these notes, start compiling a detailed list. The key is to prioritise what is more important. Of course all aspects of what you want is important, but we need to know which ones take priority over others. I would suggest marking these from 1-10 for example.
- Give examples! Once you have your list, give a couple of examples of how you actually use the space so that your designer and builder can ensure they are producing a finish product that reflects what you want and need.
- Once you have your list outlining how the smaller spaces work individually. Think about them on a larger scale. How do you want the floor plan to work and the circulation of the house to flow? Do you want direct access to the outdoors from certain rooms? Do you require certain bedrooms to be on the ground floor and away from stairs etc. Note this in the next section.
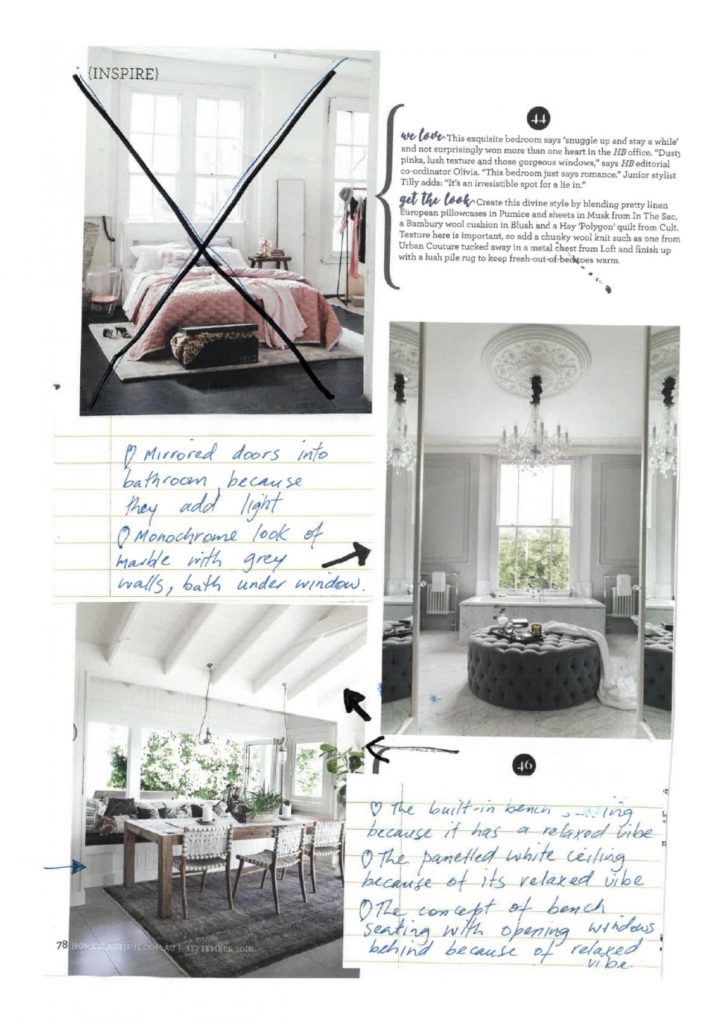
The aesthetic brief:
- Okay, I am assuming here that you already have about 200 pictures saved on your Pinterest board. Don’t worry, we have a lot more. It’s time however to cut these down. Section up your board into rooms, landscape and general external house finishes.
- Choose your colour palette. Your preferred colours generally will pop up in patterns of the photos that you save onto your new boards. Make sure you sick to these hues and tones. If worst comes to worst you can change it later – but have an organised order of direction for now.
- Include atmospheric image references too. This is super important because you do want your house to be a home, and for your home to be healthy and enjoyable place for you to be in.
- Mark it all up! Highlight, circle, write notes next to the actual aspects of the image you like. This is helpful if you take a step away from the brief and cant remember exactly why you liked it in the first place.
- Homes
- Dual Occupancy
- Renovation
- Townhouses
- Apartments
